Alternatives for mass air flow sensor cleaning in vehicles (MAF Sensor)
The mass air flow sensor is essential for dependable and effective engine performance. The sensor will eventually stop working because of microscopic residue that the air passing by it leaves behind.
You could be tempted to try something you already have at home, such WD-40, brake cleaner, or a comparable substance, as the specialized MAF sensor cleaning looks like an added investment.
Since the mass air flow sensor is so delicate, there is no other way to clean it. Use just the items that are obviously designed for this use.
Why you shouldn’t use alternatives to MAF sensor cleanser?
You’ve come to this article looking for alternative products to use on your mass air flow sensor, but I’m here to warn you not to use any of them. There are many articles recommending various mainstream cleaners, but using them guarantees sensor failure.
While WD-40 and brake cleaner will get the dirt off the MAF sensor, the problem is that they leave a layer of residue on the hot wire, effectively making it worse. In theory, the residue provides an insulation layer to the wire, making it harder to cool. The computer will think there’s less air flowing, and adjust the fuel injection accordingly, resulting in a lean mixture.
The second problem is the sensitivity of the sensor wire. Brake cleaners and degreasers are aggressive chemical solutions and may damage the sensor. Even touching the sensor is enough to pass the grease from the skin to the sensor and affect its accuracy.
The only alternative that could potentially work is an electronics cleaner, but I wouldn’t take that risk. There’s no point in buying an alternative spray when the MAF sensor cleaner isn’t particularly expensive.
How a MAF Sensor works?
The mass air flow sensor is located between the air filter and the throttle body. Trace the air hose from the filter and you’ll find the plug sticking out with a wiring harness attached to it. The section of the hose is called a MAF sensor housing that has an additional particle filter.
The sensor uses an ingenious design to determine how much air is flowing towards the engine. It contains a hot wire that is heated through an electric current that wants to keep a constant temperature.
Once you accelerate or increase the speed of the vehicle, more air will flow through, cooling the wire down. In turn, more current will be sent to the hot wire to maintain the constant temperature. By checking the electrical current, the vehicle’s computer can tell how much air is flowing into the engine and adjust fuel injection accordingly.
The primary benefits of the MAF sensor are the faster throttle response and better fuel economy as the computer can quickly adjust the air-fuel mixture based on the data provided.
Symptoms of a bad MAF sensor
The particle accumulation on the MAF sensor will cause a number of problems with the engine. You might experience symptoms similar to low fuel compression or general fuel-related issues.
Starting the engine will be difficult and it may stall in the first few seconds of running. Stepping on the gas will cause jerking or hesitation, and the driving experience will feel off.
The engine will run rich or lean depending on how the sensor is reacting, so you may get a smell of gas or engine hiccups.
How to clean a MAF sensor?
Without taking the drying period into the account, cleaning the MAF sensor is a 5-minute job. Aside from a screwdriver and a MAF sensor cleaner, you most likely don’t need any other tools.
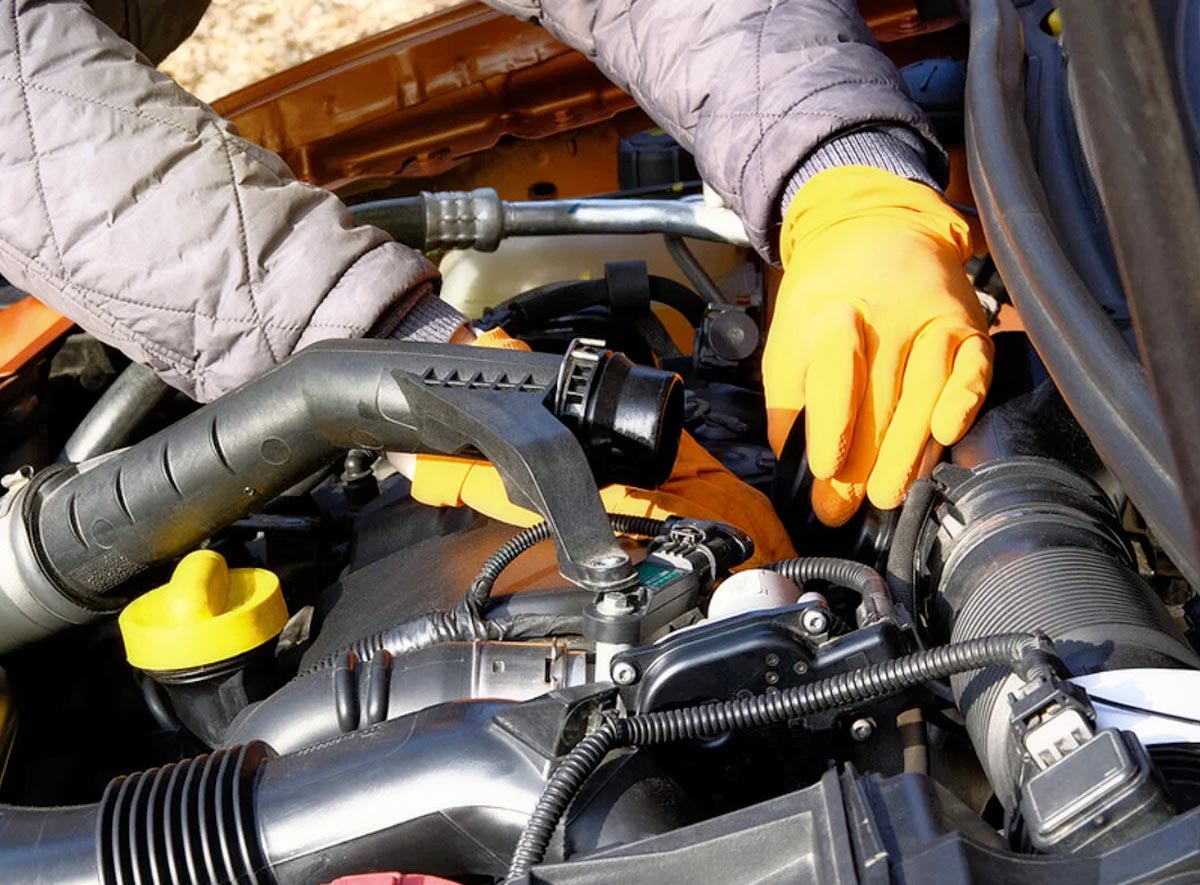
The first thing you need to do is disconnect the wiring harness. If possible, take it off with the housing, otherwise, unscrew the sensor and pull it out. Wear gloves and do not touch the sensor at any point.
Give the MAF cleaner a good shake and spray the sensor. If you’ve taken it along with the housing, do not spray through the filter as that will push the dirt towards the sensor. Instead, spray from the opposite side and you’ll clean both components. Repeat a few times to be thorough.
There’s an arrow on the top of the sensor indicating the direction it needs to face, but before placing the sensor back, let it dry for 10-20 minutes. If the cleanup didn’t help, you can use these steps to replace the sensor – but again, don’t touch the sensitive components.
You can check more articles about car cleaning guides here.